Getting Started
Editing your first GitBuilding project
This guide assumes you have already installed GitBuildng and have used the user interface to create and launch a new project.
GitBuilding documentation is written in something we call BuildUp. BuildUp is an extension of markdown. Many forums on the internet use markdown when you write posts.
Opening the live Editor
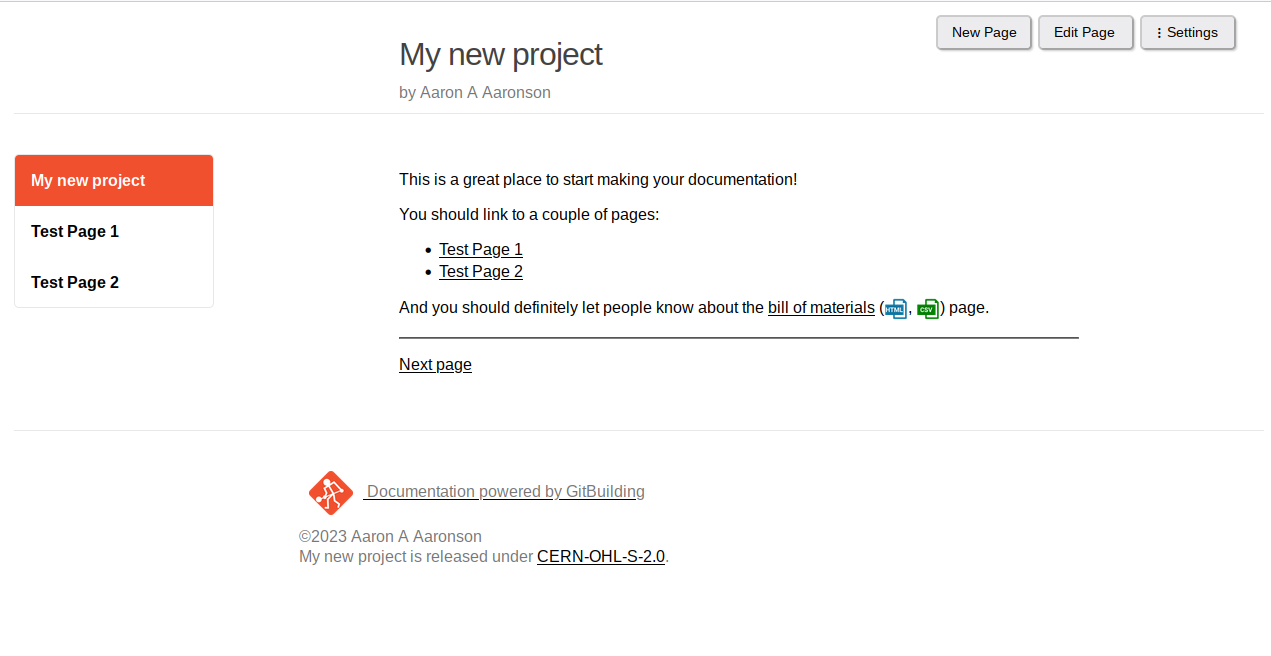
Once you have opened your documentation in a browser, it should look like this.
To you edit a page use the button in the top right-hand corner. The side-by-side editor will open:
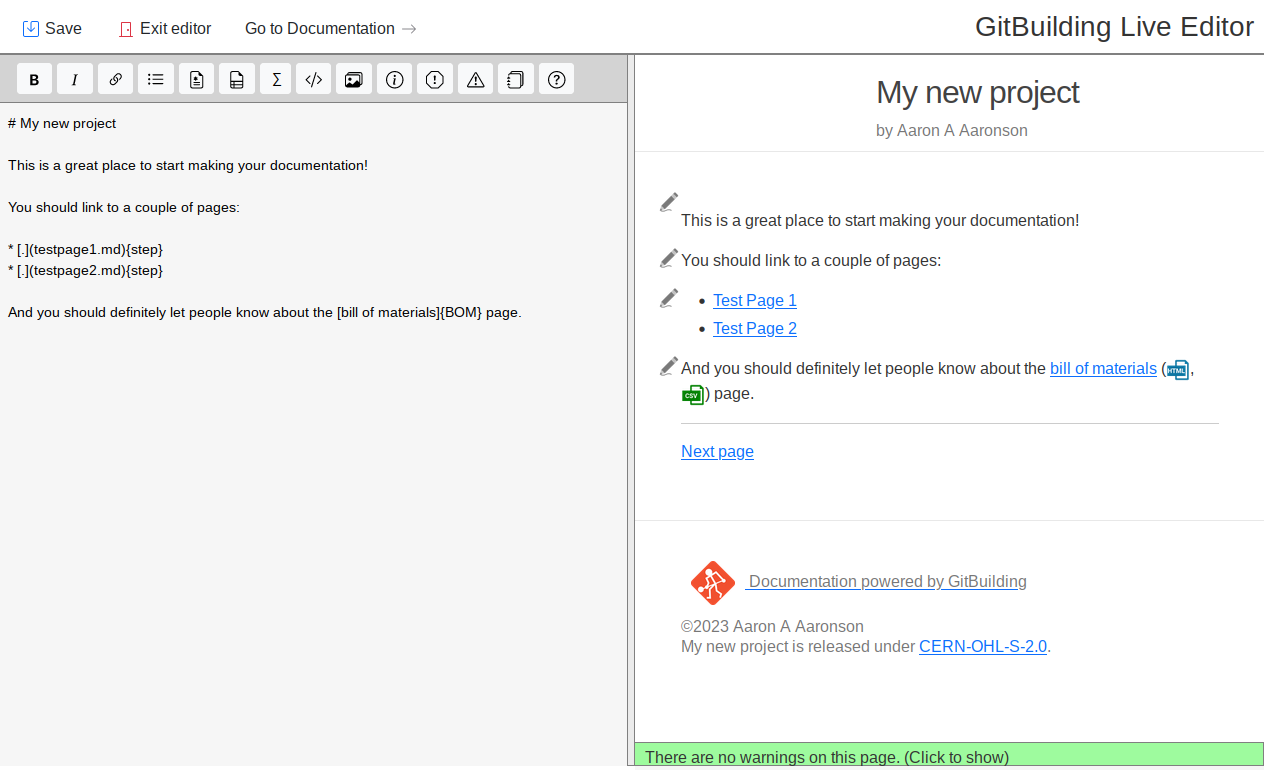
Once you have the editor open. Try adding text to the editor on the left hand side. You will see the same text appear on the right. You can add simple formatting such as:
Formatting text
# Title

## Subtitle

* This
* is a
* list

1. This list
1. Is numbered

You can use asterisks to make **Bold** or *Italic* text.

Underscores can also be used to make __Bold__ or _Italic_ text.
The result will be:
Title
Subtitle
- This
- is a
- list
- This list
- Is numbered
You can use asterisks to make Bold or Italic text.
Underscores can also be used to make Bold or Italic text.
Once you have added text you can save and close the editor
Tracking parts
The main feature of GitBuilding is that it can track component and tool usage as you write your documentation.
In the basic new project the main page has two test pages and a Bill of Materials. The Bill of Materials is automatically generated from the content of the two test pages. Navigate to one of these pages and open the editor.
You will notice that that the tools and parts used on the page are listed in a box. We can remove this box by deleting the following line
{{BOM}}
We can add the same line back into the page wherever we want to list the parts used on a page.
Let’s say we want to add a new instruction. To hammer 5 nails into a block of wood. We could just write that sentence. But to make sure the items are tracked we need to add a quantity, for tools we also add a category. For example copy in:
* Get a [block of wood]{qty: 1}
* Using a [hammer]{qty:1, cat:tool} knock one [nail][nails]{qty:1}
* Knock in four more [nails]{qty:4} with the [hammer]{qty:1, cat:tool}
You will notice that five nails, 1 block of wood and one hammer has been added you your page bill of materials. Things to note:
- We define a part name by putting the name it in square brackets. The quantity follows in curly brackets
{}(braces if you are American). - One one hammer was added even though it was used twice. This is because GitBuilding assumes tools can be reused, whereas parts cannot.
- When we wanted the part name (in the bill of materials) to be different from the name in the text we write
[name in text][part name]{qty:1} - All of our link appear in red. This is because the part should link to something.
Linking parts
Parts links are markdown links with the extra quantity information in curly brackets. Let’s say we want to make a page about the wood. We can either use the full link syntax when we first use the part on the page:
* Get a [block of wood](wood.md){qty: 1}
Or somewhere else on the page we use markdown’s reference style links, where we define the link on a different line.
[block of wood]: wood.md

* Get a [block of wood]{qty: 1}
Notice that once you do this the link goes changes colour.
Save the page and exit the editor.
Making a new page
Click on the block of wood link you use made. It should take you to a “page not found” page. Below page not found you can click “create it”.
You are now in the editor for the page about the block of wood:
# A block of wood

You need a block of wood that is about 50mm by 50 mm by 50 mm.

Any wood is fine. Oak or Iroko are much nicer and harder wearing than pine, but you will need to pre-drill holes before nailing.
Add this text and save the page. Navigate back to the test page you edited before. You will see the link to the block of wood now links to this new page.
More Syntax Help
- For general markdown formatting check this markdown cheat sheet
- For syntax specific to BuildUp see our BuildUp Syntax Reference
- A GitBuilding example is available on GitLab.